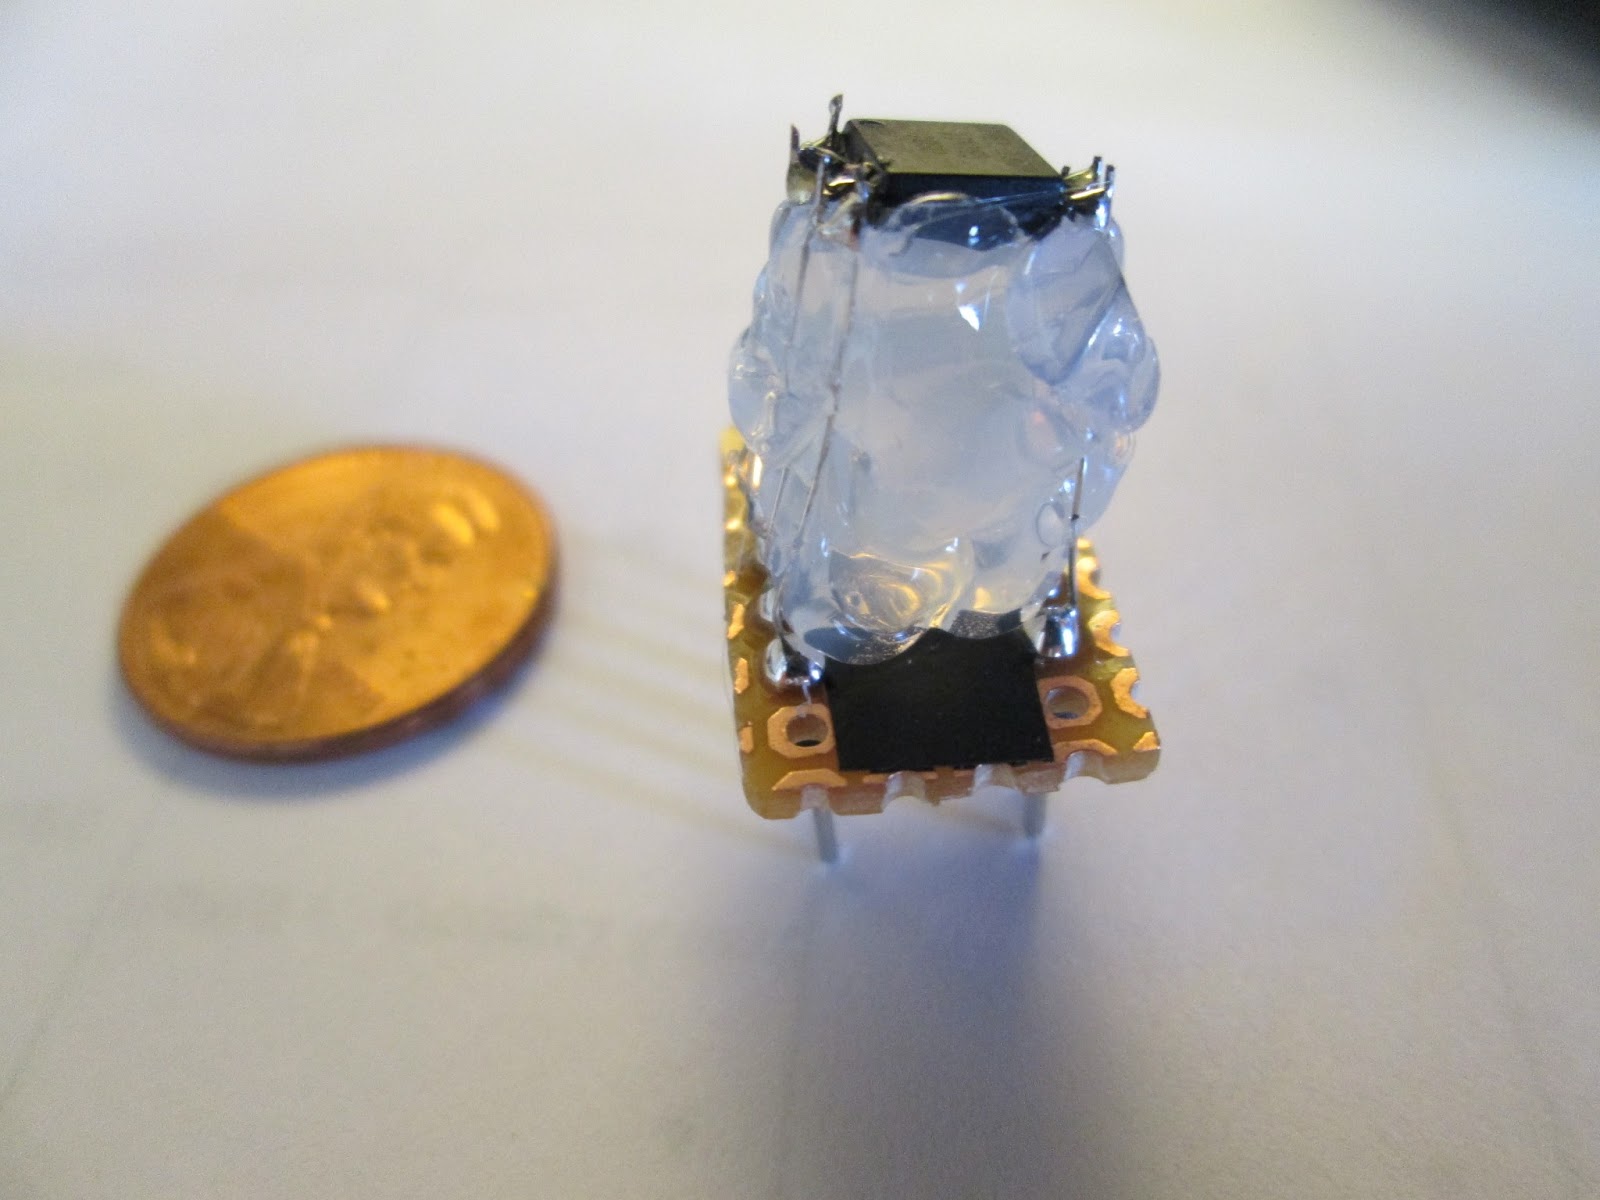
I had planned on ordering a few ATtiny85's when ordered the stuff for my ATmega328 breakout. Unfortunately, the dip package was out of stock, so I did the next best thing. I ordered a few ATtiny45's and some surface mountable ATtiny85.
 |
| ATtiny85-20 SU vs SH |
I received them and finally set about playing with them a few days ago. To the right you see a picture of the two different kinds. Don't let the picture deceive you. They look the same. I'm not an expert on such things. If someone knows what those letters mean let me know and I'll update this post.
UPDATE: Jason the PC MD says that the pins are made of different materials. This would make sense. Tin is cheaper.
SH:NiPdAu
SU: Tin
Regardless, I wanted to put them on a breadboard to play with. There are several ways to do this. Ideally, I would make a little PCB and solder it together. Maybe someday I will get into etching, but that day is not today. I have also heard of surface mounting protoboard which has smaller spacings to accomodate surface mounted parts. I'm sure there are other methods as well (I saw something about drawing with a conductive pen.. Not going there). Anyway, I had none of these methods available, so I broke out the soldering iron and went to town.
I started with a small piece of protoboard that I cut to size with an x-acto knife and sanded smooth.
Next I snapped off some male headers and placed them in a solder-less breadboard to insure they stayed straight. I randomly decided that I would use an ATtiny85-20SU and then began to very carefully solder each pin to the corresponding header. I used the same small Kynar wire that I used for my ATtiny programming adapter (which if you haven't seen, you should check out. It makes my life much easier when I program the ATtiny DIP sockets).
When I got done I squirted a good bit of hot glue under the ATtiny itself just to make sure it didn't move around and short out. I also super glued the headers to the protoboard because the pins aren't plated all the way through on this cheap protoboard, and I didn't want them to pull off with repeated use.
I have no doubt that this could be done more compactly. This is not pretty and won't work with my previously mentioned adapter, but it gets the job done. I have tested it; it works fine. As for SH vs SU mounting types, I still don't know. We will see what time reveals.
Also, this weekend is the FIRST Robotics Championship in St. Louis. If you don't know what that is, check out the website usfirst.org. The competition will be streaming live as well. That can be found HERE. I know from first hand experience that it is a lot of fun. If you ever get the chance to go to one of the events, you won't regret it. They are all free and open to the public.
-Matthew


This comment has been removed by the author.
ReplyDeleteThe difference is the pins.
ReplyDeleteSH: NiPdAu
SU: tin
Tin is cheaper than NiPdAu.
Ah that would make sense. Thank you!
ReplyDelete